

PVD coating adhesion does not start in the vacuum chamber. It starts with the surface a part carries into it. For optical lenses, cutting inserts, mobile phone accessories, and precision molds, a single residue layer thinner than a fingerprint can cause coating delamination. We have seen this across hundreds of production lines: the cleaning step before coating is not a support process, it is the process that determines whether the coating bonds or fails. While most articles on pre-PVD cleaning focus on generic ultrasonic parameters, this article addresses the complete multi-stage aqueous cleaning chain from the perspective of an equipment engineer designing systems for real coating shops.
Coatings fail at the interface. That interface is always between the deposited film and whatever the part surface actually carried into the chamber. The goal of pre-PVD ultrasonic cleaning is not just to remove visible oil. At the levels we design for, the target is a surface with no organic film, no particulate above the coating's tolerance, and no ionic residue that will cause moisture-driven failure later. Achieving that means designing the cleaning system as a sequence of specific chemical and mechanical actions, not a single tank with detergent.
What Makes a Surface "PVD-Ready"
A surface that passes visual inspection can still fail under coating. We define three levels of contamination you must eliminate to reach a PVD-ready state. Particulate contamination includes metal chips, polishing dust, and airborne fibers; any particle larger than the coating thickness becomes a defect site. Organic films include stamping oils, drawing compounds, polishing wax, and fingerprints that prevent atomic bonding of the coating layer. Ionic residues include salts, acids, and metal ions left by rinse water or handling that cause electrochemical underfilm corrosion.
A practical standard we apply in system design is that the final rinse conductivity must not exceed 5 µS/cm above the incoming DI water baseline. For ultrapure water systems, we target ≤ 0.06 µS/cm. This is measurable, and every coating process engineer should be able to verify it. Without a quantifiable target, cleaning becomes guesswork. We learned this when a cutting insert manufacturer came to us with 18% coating rejection. Their problem was not the coating. It was rinse water at 120 µS/cm leaving chloride residues that nucleation sites formed around. That experience shaped our approach to designing pre-PVD cleaning lines.
Why a Single-Tank Washer Cannot Meet Pre-PVD Demands
Cleaning, rinsing, and drying in one tank guarantees recontamination. The cleaning chemistry and removed soil mix with rinse water, leaving a thin film on parts. We have dismantled the argument that "the detergent is clean enough" many times. For a coating line, it never is. Every part that exits a single-tank process has a mixture of diluted detergent and redeposited contamination drying on its surface. Under vacuum deposition, that film outgases or carbonizes, creating the exact adhesion failure you were trying to prevent.
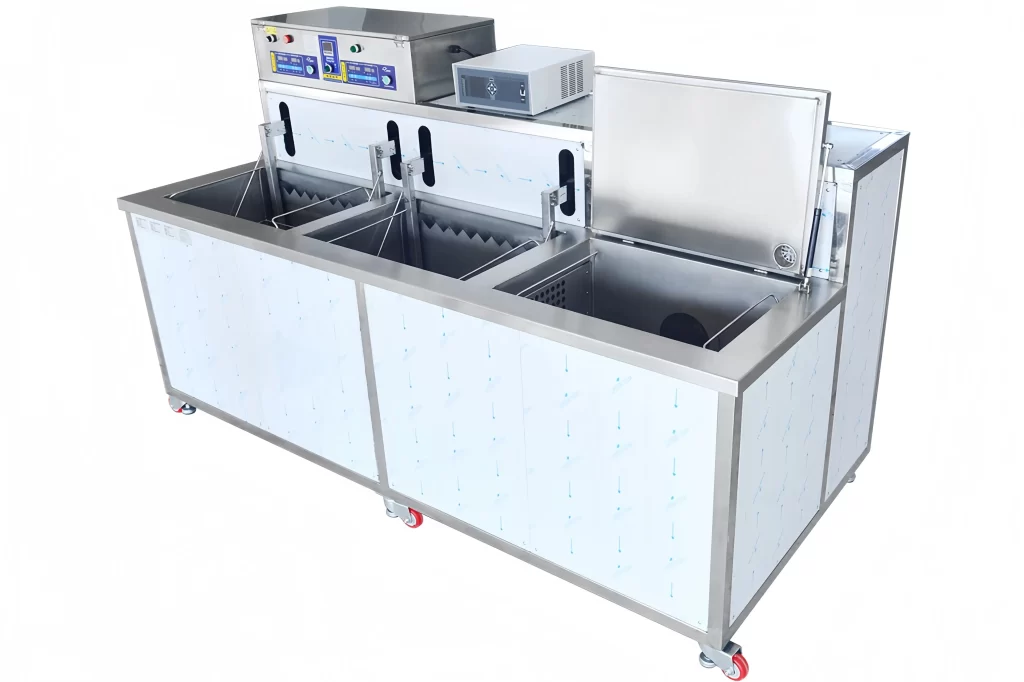
Multi-stage cleaning separates each function into its own tank: ultrasonic degreasing in one, cascading rinses in subsequent tanks, and drying in a final station. This separation prevents cross-contamination at every transfer. In automotive PVD lines we have built, a representative four-tank sequence is: Tank 1 for heated alkaline detergent under 28 kHz ultrasonic, Tank 2 for DI water rinse at 30-40°C with overflow, Tank 3 for fresh ultrapure water final rinse, and Tank 4 for hot air or vacuum drying. The part moves forward through cleaner liquid at each stage; nothing carries back. This is not a minor improvement over a single tank; it is the minimum architecture for a reliable pre-PVD surface.
The Process Chain That Delivers Consistent Pre-PVD Results
Our standard pre-PVD cleaning line integrates five stages that must be treated as a single system, not isolated steps. Spray pre-wash comes first, using high-pressure jets to remove heavy chips and swarf that would otherwise load the ultrasonic tank with solids. The second stage is ultrasonic cleaning in heated ultrapure water with a neutral or mildly alkaline detergent. We run this at 45-65°C with 28 kHz or 40 kHz transducers depending on part geometry. Fine ultrasonic cleaning follows as a third stage for parts with blind holes or tight tolerances, using fresh solution and often a higher frequency like 68 kHz.
Rinsing is where most lines fail. Two cascading rinse tanks with counterflow DI water, both at 30-40°C, reduce drag-out and maintain final rinse quality. The last rinse tank must have a conductivity monitor; when it drifts above 0.1 µS/cm, the water is no longer clean enough for PVD. Drying logically follows as a separate stage, with air knife plus hot air for open surfaces, or vacuum drying for parts with deep cavities that trap liquid. We specify vacuum drying for optical components and threaded parts. The air knife alone leaves moisture in recesses, and that moisture becomes a bubble under coating. We have seen this failure in mobile phone cases where the camera ring area showed coating voids because water lingered in the micro-gap after air drying. The solution was a vacuum drying module that pulled liquid out of those cavities.
Controlling Water Quality Before It Ruins a Coating Run
The water contacting parts in the final rinse directly determines coating adhesion. Ultrapure water at ≤ 0.06 µS/cm conductivity is the target we recommend for pre-PVD lines. This is not arbitrary. We validate this on every installation by checking that final rinse water leaves no visible spot under a 20x microscope after drying and that a water break test shows the surface is free of organic contamination.
Particles in rinse water cause pinhole defects that are not visible until after coating. Filtration matters as much as conductivity. We install 0.2 µm absolute-rated cartridge filters on the final rinse loop, with UV sterilization to prevent bacterial growth in the water system. Bacteria and biofilm can shed particles that deposit on part surfaces even when water conductivity is perfect. We recommend quarterly validation of rinse water cleanliness using a particle counter or witness plate test. The witness plate method is simple: run a polished stainless steel coupon through the full cleaning cycle without coating it, then inspect under light. If you see residue or haze, your rinse system is not performing for PVD. We have used this method to convince coating managers that their water system needed an upgrade when conductivity readings alone suggested it was fine.
How Part Geometry Determines Process Configuration
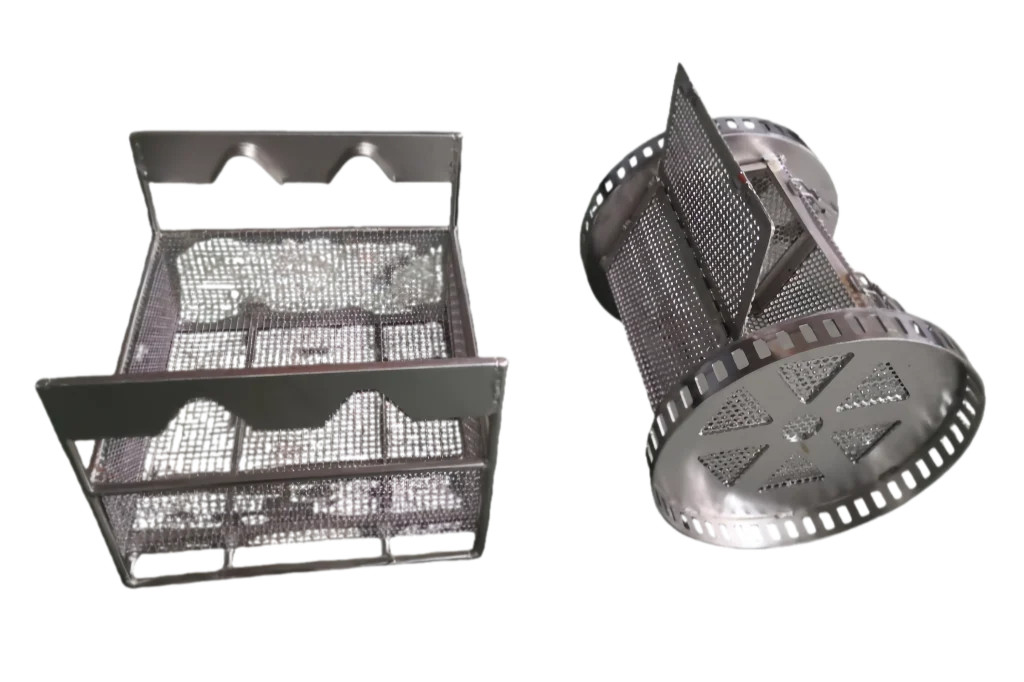
A flat cutting insert cleans fast. A mold with cooling channels or an optical lens holder with undercuts does not. We design the cleaning system around the worst-case geometry in a customer's product mix, not the easiest. Rotation is the most common solution we specify. A rotary basket that turns the part 360 degrees during ultrasonic exposure ensures the cavitation field reaches every surface and flushes liquid out of blind holes.
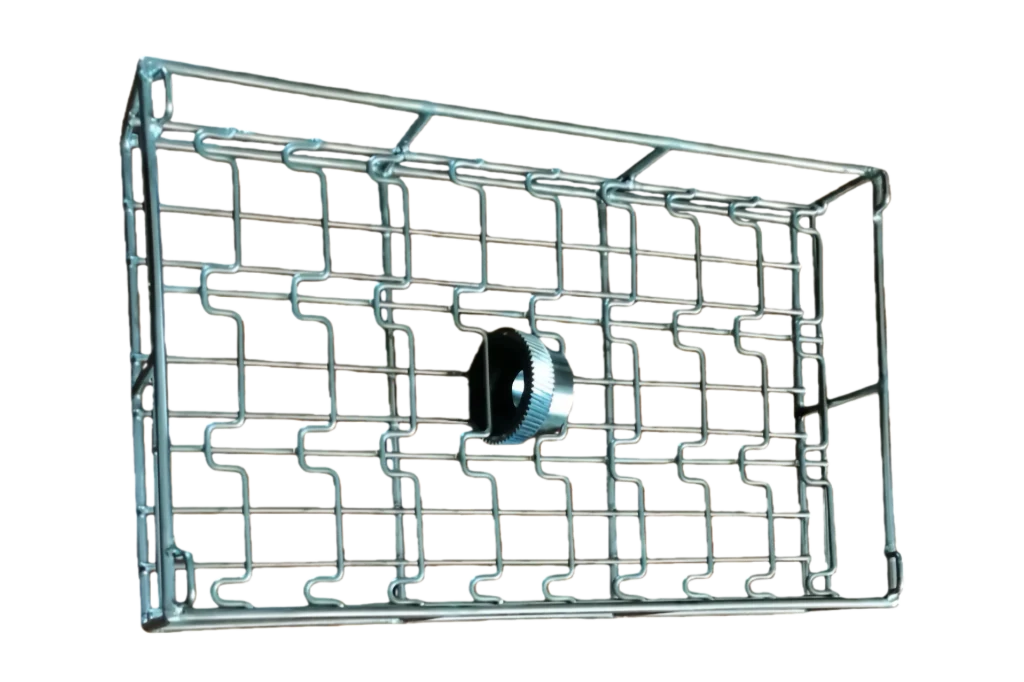
For parts that cannot be tumbled, we use fixed-position fixturing with multi-directional spray before ultrasonic immersion. The spray pre-cleans the parts from multiple nozzle angles, which reduces the load on the ultrasonic tank and ensures that internal cavities start the cycle already wetted. If a part traps air in a blind hole, cavitation cannot occur there. That means that section of the part never gets cleaned. We require customers to provide part drawings so we can identify trapped-air zones and design agitation or degassing steps to address them. A common problem we encounter is a design engineer specifying a standard cleaning cycle for parts with deep, narrow bores. The parts look clean after drying because the surface is dry, but residual oil pooled inside the bore carbonizes during PVD and flakes onto the coating chamber's shields. That contamination then affects the next batch. Fixing this is not about more ultrasonic power. It is about getting liquid in and out of the bore.
What Cleaning Chemistry Choices Mean for PVD Lines
The detergent you choose for pre-PVD cleaning must be free-rinsing. Any surfactant residue that remains on the surface after rinsing will contaminate the vacuum chamber and reduce adhesion. We formulate with neutral to mildly alkaline chemistries that have low foaming characteristics and are compatible with the DI water/ultrapure water protocol. Avoid detergents with silicates, phosphates, or high molecular weight polymers. Silicates leave glassy residues that are invisible but electrically insulating. Phosphates can react with metal ions in rinse water and precipitate as fine particles. These are not theoretical problems; we have seen silicate residues identified via SEM-EDS analysis on failed coated parts.
Rust inhibitors are sometimes necessary for ferrous parts if the coating does not occur immediately after cleaning. We use volatile corrosion inhibitors that evaporate during the initial pump-down of the coating chamber rather than leaving a permanent film. If a part will be coated within two hours of cleaning, a rust inhibitor is usually unnecessary and adds risk. The best pre-PVD cleaning process eliminates the need for post-cleaning protection by tightly synchronizing cleaning and coating scheduling. We recommend cleaning lines to be adjacent to coating chambers so that cleaned parts are loaded directly into the coating batch. This reduces the cleanliness window from hours to minutes.
Common Questions About Pre-PVD Ultrasonic Cleaning Systems
Does ultrasonic cleaning remove polish compound from optical parts?
Yes, but only if the temperature and chemistry are matched to the specific compound. Optical polishing compounds often have a melting point above 50°C. Running the ultrasonic tank at 60-65°C with a detergent designed for wax removal emulsifies the compound without requiring manual scrubbing. We couple this with a high-frequency ultrasonic stage, typically 68-80 kHz, to avoid cavitation erosion on polished surfaces while still removing submicron particles from the polishing process.
Can I use the same cleaning line for different substrate materials?
It depends on the chemical compatibility and cross-contamination risk. Aluminum components cannot share a cleaning bath with steel parts if the bath pH is above 9.0; that etches aluminum and loads the solution with metal ions that deposit on both substrates. We separate lines by material family when possible. When customers must process mixed materials, we use neutral pH detergents and implement conductivity-controlled baths with automatic dump and refill to keep contamination below thresholds.
What drying method works best for threaded parts before PVD?
Vacuum drying is the most reliable for threaded and deep-hole components. Hot air can dry the external surfaces but leaves moisture in threads and blind holes because the air stream does not effectively exchange volume in those geometries. Vacuum drying lowers the boiling point of water so that trapped liquid boils off at temperatures as low as 30-40°C, which protects heat-sensitive substrates. We recommend a vacuum level of 50-100 mbar absolute held for a minimum of 2 minutes after the part reaches temperature.
How do I validate that a cleaning process is ready for production?
Run a witness plate test as described earlier, combined with a water break test on actual production parts. Record final rinse conductivity at the start and end of a batch. Take one part from the first, middle, and last cleaned batch and coat them in a single PVD run. Inspect all three under a microscope and adhesion test. If you see variation between them, your process is drifting and needs rinse water management or chemical replenishment controls. We always recommend installing in-line conductivity and flow monitoring that provides trend data, not just alarm thresholds.
How often should pre-PVD cleaning chemistry be replaced?
The replacement interval depends on bath loading, filter efficiency, and the type of soil. In our systems, we typically see detergent baths lasting 4-8 weeks when paired with oil skimming and bag filtration. The real metric is not time but cleaning performance. We set a cleanliness benchmark on a reference part and test it weekly. When cleaning time must be extended to meet the benchmark, the bath is near end of life. For PVD lines, chemistry life matters less than process consistency. It is better to replace proactively than to discover a weak bath through coating failure. If your cleaning cycle time varies between batches, that is an early signal to plan a changeout.
When a coating yield starts to trend down, the root cause is almost always in the cleaning line, not the coating chamber. Send your part drawings and current cleaning process parameters to [email protected] or call +86 17768507147. We will map your part geometry against the correct multi-stage sequence and confirm what it takes to get clean surfaces that coatings can bond to.
Если вас интересует, ознакомьтесь с этими связанными статьями:
Снижение потребления растворителей в промышленной очистке: руководство
Основные вопросы для поставщиков промышленного оборудования для очистки
Руководство инженера по подготовке поверхности перед нанесением покрытия
Ультразвуковые мойки для конвейеров для тяжелых промышленных деталей
Технология ультразвуковых преобразователей: руководство эксперта по промышленной очистке
 Russian
  English
  German
  Spanish
  French
  Portuguese