

Contaminated bearings fail early. That is the reality production engineers and maintenance teams deal with when assembly-area cleaning gets treated as a minor step. How to clean bearings before assembly is not a complex question on its surface, but the difference between a quick solvent wipe and a validated cleaning process often determines whether a bearing reaches its rated L10 life or seizes within the first hundred operating hours. Having spent over two decades engineering ultrasonic and automated cleaning systems for manufacturers across more than 20 countries, I have seen firsthand how much variation exists in what different shops consider "clean." This article works through the contamination risks, cleaning method selection, and process controls that deliver consistent pre-assembly bearing cleanliness.
Why Pre-Assembly Bearing Cleanliness Matters
Most bearings arrive from the manufacturer with a protective oil coating that serves a dual purpose: corrosion protection during storage and light lubrication for initial rotation. The problem is that this preservative is not a running lubricant, and it traps whatever settled on the bearing surfaces during shipping, handling, and warehouse time. Dust, metal fines from nearby machining operations, condensation residue, and even fibers from packaging materials embed themselves in that oil film.
A bearing running with particulate contamination at the rolling element-to-raceway interface experiences surface-origin fatigue far earlier than a clean bearing. The mechanism is straightforward: a hard particle between the rolling element and raceway creates a localized stress concentration. Each over-rolling cycle deepens that stress riser until a spall forms. Once spalling begins, the bearing's vibration signature changes and failure progression accelerates rapidly. This is not theoretical; it is visible under magnification after teardown of bearings that failed well short of their calculated fatigue life.
The cleanliness standard for a given bearing depends on the application. A large, slow-turning slewing bearing in a construction crane has different tolerance for residual contamination than a high-speed spindle bearing running at 15,000 RPM in a CNC machining center. The smaller the bearing and the higher the speed, the more critical cleanliness becomes. For precision-grade bearings rated ABEC-5 and above, even sub-visible particles in the 5 to 10 micron range can initiate damage.
Common Contaminants Found on Bearings Before Assembly
Identifying what needs to be removed shapes the cleaning method. Through years of process development work, our team has categorized the contaminants we encounter during pre-assembly bearing cleaning into several groups:
Protective oils and rust preventives. These are petroleum-based or synthetic films applied at the bearing factory. They are designed to be removed before service. The challenge is that their viscosity varies widely; some are light solvent-displaced films, while others are heavier grease-like coatings for long-term storage protection.
Atmospheric and environmental particles. Dust, shop-floor grinding swarf, and airborne metal particles settle on bearing surfaces during storage and handling. In facilities where bearings are stored near machining or grinding operations, this is the dominant contamination source. Particles under 10 microns are especially problematic because they are not visible to the naked eye and pass through many standard filtration systems.
Handling residues. Fingerprints deposit salts and oils that can initiate corrosion on polished raceway surfaces. Cotton glove fibers, paper towel lint, and plastic packaging debris also qualify as contaminants that should be removed.
Residual machining or grinding debris. Bearings that have undergone post-manufacture modification, such as custom machining of housings or shafts that interface with the bearing, carry metal chips, cutting fluid residue, and grinding swarf that must be fully removed.
The cleaning method must address all contaminant types present. A solvent wipe may lift protective oil but does not reliably remove embedded particulate from raceway surfaces and cage assemblies.
Manual vs. Ultrasonic Cleaning Methods for Bearings
The choice between manual cleaning and automated ultrasonic cleaning for bearings comes down to three factors: cleanliness requirement, production volume, and part geometry.
Manual Solvent Cleaning
Manual cleaning typically involves wiping bearing surfaces with lint-free wipes saturated with a solvent such as isopropyl alcohol, mineral spirits, or a fast-evaporating hydrocarbon. For small-quantity maintenance and repair operations, this method works reasonably well on accessible external surfaces. Technicians can visually confirm that the wipe comes away clean.
The limitations become apparent quickly. Rolling element bearings have internal geometries that a wipe cannot reach: the cage structure, the rolling element-to-cage contact points, and the inner raceway behind the cage windows. Solvent flushes can carry contamination deeper into these areas rather than removing it. Manual cleaning also introduces variability; two technicians may achieve different results on identical bearings, and neither result is quantifiable.
Ultrasonic Cleaning
Ultrasonic cleaning addresses the geometry access problem through cavitation. When high-frequency sound waves, typically 20 to 40 kHz for bearing applications, propagate through a cleaning solution, they generate microscopic vacuum bubbles that implode against submerged surfaces. This implosion releases enough localized energy to dislodge particulate from surfaces the cleaning fluid touches, including blind holes, under-cage areas, and rolling element-to-raceway clearances.
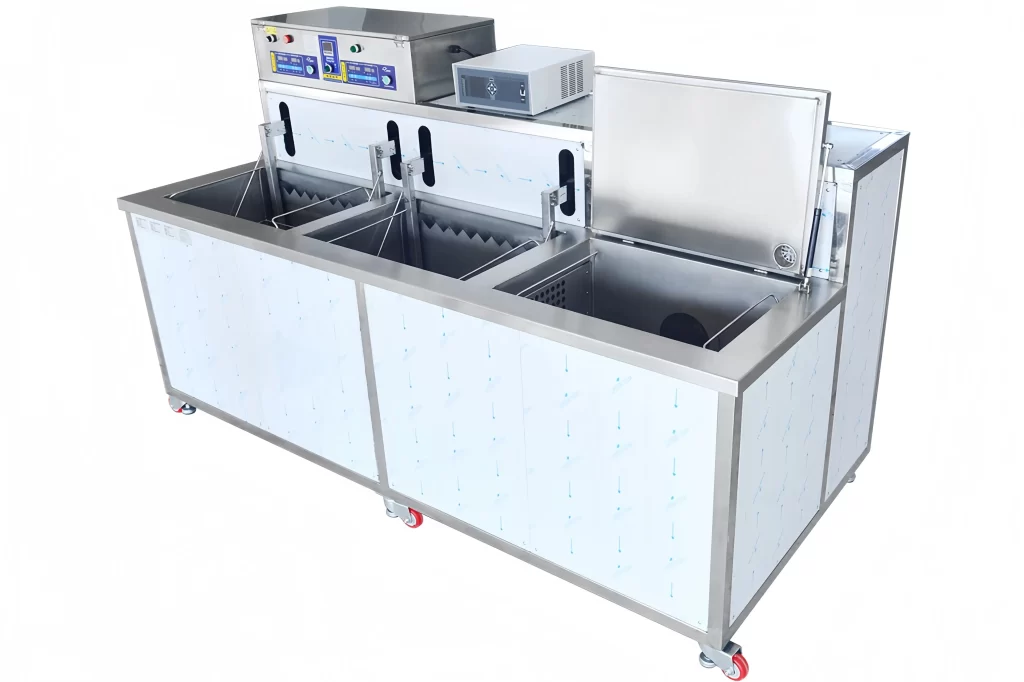
The process parameters that matter for bearing cleaning are frequency, solution temperature, and cycle time. Lower frequencies in the 20 to 28 kHz range produce larger, more energetic cavitation bubbles suited for heavy contamination removal. Higher frequencies at 40 kHz and above generate smaller bubbles that penetrate finer clearances with less risk of surface erosion on polished raceways. For precision bearings, multi-frequency or sweep-frequency systems that vary the output across a range deliver thorough cleaning without cavitation-induced pitting.
Solution temperature for bearing cleaning typically falls between 45 and 65°C. At these temperatures, the cleaning solution viscosity drops enough to wet surfaces rapidly while the thermal energy accelerates the breakdown of oil-based contaminants. A multi-tank system adds rinsing and drying stages so the bearing moves through ultrasonic cleaning, deionized water rinse, and hot air or vacuum drying in sequence without recontamination between stages.
| Factor | Manual Solvent Cleaning | Ultrasonic Cleaning |
|---|---|---|
| Internal geometry access | Limited to line-of-sight surfaces | Cavitation reaches blind holes and under-cage areas |
| Consistency | Operator-dependent | Process-controlled, repeatable |
| Particle removal below 10 microns | Inconsistent | Effective with proper frequency selection |
| Throughput | Low, single-part focus | Batch processing, 5 to 6 minutes per cycle per tank |
| Process validation | Visual only | Documented cycle parameters |
If your production involves more than occasional bearing replacements and you are working with precision-grade bearings, the cost difference between manual cleaning and a dedicated ultrasonic system often pays back through reduced assembly-related bearing failures within the first production year.
How to Validate Bearing Cleanliness Before Assembly
A cleaning process without validation is guesswork. Three practical methods exist for confirming that bearings are clean enough for assembly, each suited to different production environments:
White wipe test. After cleaning and drying, wipe a representative bearing surface with a clean, lint-free white cloth or filter paper and inspect it under good lighting. Any visible discoloration indicates residual contamination. The limitation is that sub-visible particles pass this test; it is a minimum threshold, not a cleanliness guarantee.
Gravimetric analysis. For quantitative cleanliness verification, a known solvent is used to rinse the cleaned bearing, and the rinse solution is passed through a pre-weighed filter membrane. After drying, the filter is re-weighed. The weight difference represents the residual particulate mass on the bearing. Results are typically expressed in milligrams of contaminant per bearing or per kilogram of bearing weight. This method is standard in aerospace and precision manufacturing where cleanliness specifications are contractually defined.
Particle counting and classification. For the most demanding applications, the rinse solution is analyzed with a liquid particle counter that reports particle counts by size channel, typically 5, 15, 25, and 50 microns. This yields a particle size distribution that can be compared against an ISO 4406 cleanliness code or an internal specification. For high-speed spindle bearings, a target cleanliness of ISO 16/14/11 or better is common.
Validation data serves two purposes. It confirms that the current cleaning process produces acceptable results, and it creates a baseline so any process drift, whether from failing transducers, degraded cleaning solution, or inadequate rinsing, is detected before contaminated bearings reach assembly.
Selecting the Right Cleaning Equipment for Bearing Production
The cleaning equipment decision depends on bearing size, production volume, and cleanliness specification. The options span a range from benchtop units for small-batch work to multi-tank automated systems for production-line integration.
For low-volume precision work such as prototype assembly or maintenance repair operations, a benchtop ultrasonic cleaner with a 30 to 187-liter tank capacity, selectable frequency at 28 or 40 kHz, and integrated heating provides adequate capability. The operator loads bearings into a cleaning basket, runs a timed cycle, and transfers parts to a rinse and drying station.
Mid-volume production and applications requiring documented cleanliness justify a semi-automated multi-tank system. These systems position ultrasonic cleaning, rinsing, and drying tanks in sequence. The operator transfers the basket between tanks according to a programmed cycle, with each tank's temperature and cycle time independently controlled. The process is repeatable enough for basic validation, and the per-bearing cost is lower than manual cleaning once throughput exceeds roughly 50 bearings per shift.
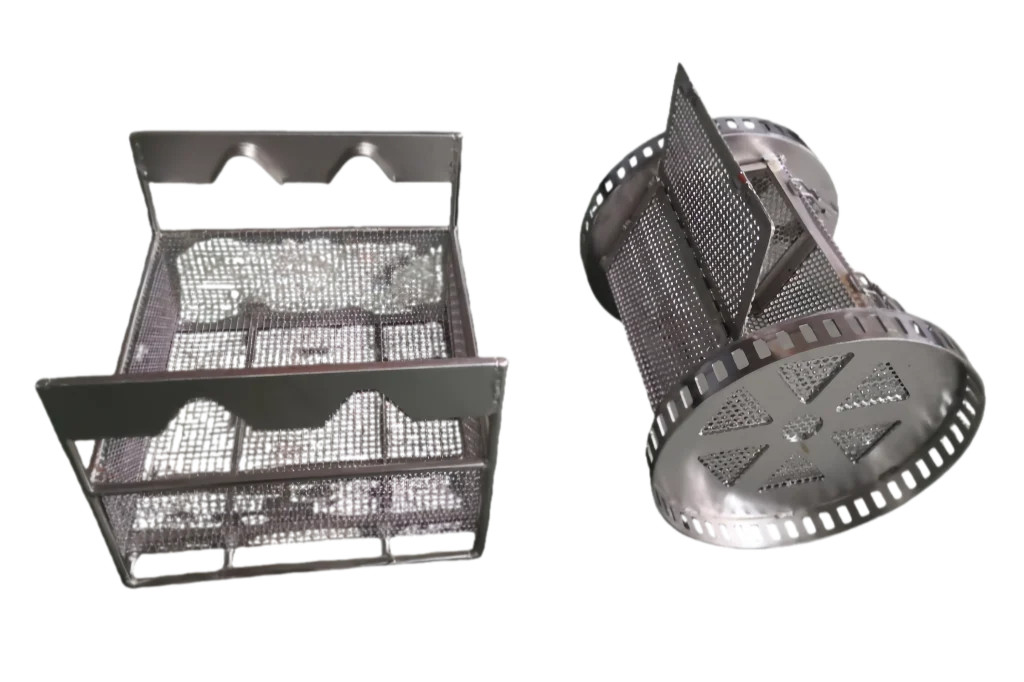
High-volume manufacturing with critical cleanliness requirements calls for fully automated systems. A rotary basket ultrasonic cleaner rotates the bearing basket continuously during the cleaning cycle so that blind holes and internal cavities orient to different positions and evacuate trapped fluid and debris. For bearings integrated into larger assembly lines, inline ultrasonic cleaning systems feed parts through cleaning, rinsing, and drying stages on a conveyor without operator intervention between stages. These systems are the standard choice when process validation data must be automatically logged for each production batch.
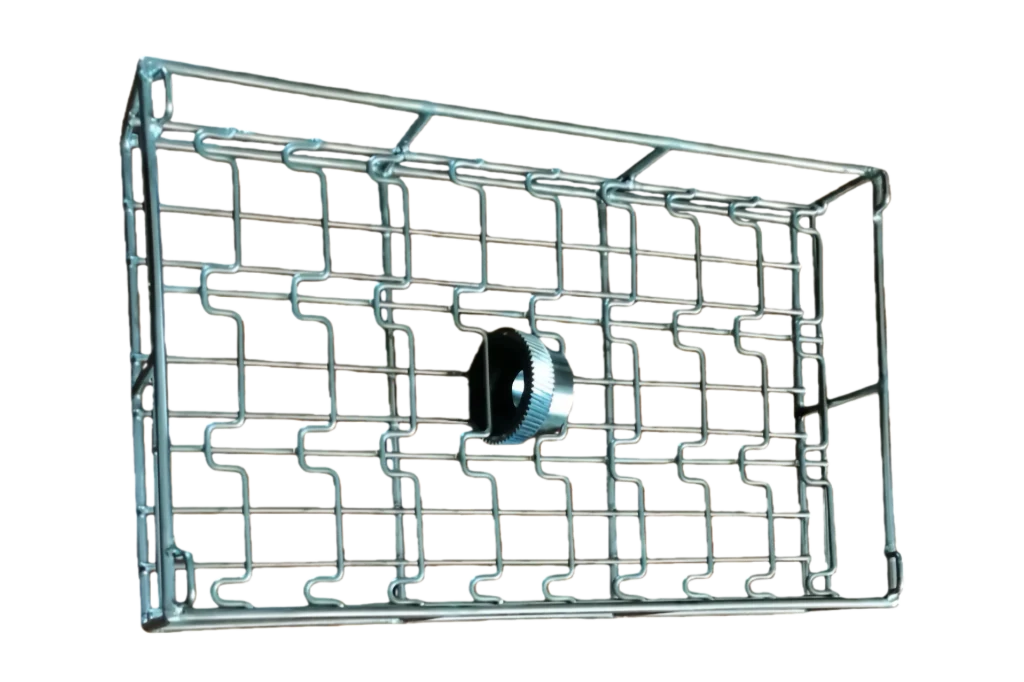
Basket design matters more than many buyers realize. A bearing resting flat on a mesh surface will trap air in the cage area and leave a dry spot where cavitation does not reach. A properly designed bearing cleaning basket holds parts at an angle or supports them on pins that minimize contact area while letting cleaning solution access all surfaces. For parts with blind holes, a rotary basket mechanism that slowly rotates during the ultrasonic cycle ensures no trapped air pockets persist.
The decision to invest in dedicated bearing cleaning equipment versus continuing with manual methods should factor in the cost of a single bearing-related field failure against the equipment investment. When a failed bearing in a customer's machine costs far more in warranty claims, service dispatch, and reputation damage than the cleaning system that would have prevented it, the economics favor the equipment.
If your bearing assembly process involves precision grades, documented cleanliness requirements, or production volumes where manual cleaning creates a bottleneck, it is worth discussing your specific part geometry and contamination concerns before settling on a cleaning approach. Share your bearing types, production volumes, and cleanliness targets with us at [email protected] or call +86 17768507147, and we will recommend a system configuration matched to your requirements.
Common Questions About Bearing Cleaning Before Assembly
Can I use compressed air to clean bearings instead of solvent?
Compressed air alone does not remove oil-based contaminants. It may blow loose particulate off external surfaces, but it drives smaller particles deeper into internal clearances and, depending on your shop air quality, can introduce oil aerosol and moisture from the compressor. If compressed air is part of your process, use it only after solvent or ultrasonic cleaning and only with a filtered, dry air supply. Even then, avoid spinning an unlubricated bearing with compressed air; the rolling elements can skid and damage the raceways.
Is it acceptable to leave the factory preservative on the bearing?
It depends on the preservative and the application. Some modern bearing preservatives are designed to be compatible with standard lubricating greases and can be left in place for low-speed, low-precision applications. However, for any bearing running above roughly 1,000 RPM or in a precision assembly, the preservative should be removed. The reason is that preservative viscosity and additive chemistry differ from the service lubricant, and mixing the two degrades the lubricant's film strength. When in doubt, clean the bearing.
How do I clean sealed or shielded bearings?
Sealed and shielded bearings are not designed to be cleaned after manufacture. The grease fill installed at the factory is the bearing's service lubrication, and the seal or shield is intended to keep contamination out for the bearing's life. Attempting to solvent-clean a sealed bearing will strip the internal grease and likely leave solvent residue inside the shield that degrades the remaining lubricant. If a sealed bearing is suspected of contamination, replacement is the correct course of action, not cleaning. For applications where pre-installation cleaning is required, specify open bearings and clean them before applying the final grease fill.
What is the most common mistake in bearing cleaning?
Rushing the drying step. A bearing that appears dry on the surface can retain solvent or rinse water in the cage pockets and rolling element clearances. When that bearing is packed with grease and installed, the trapped liquid mixes with the grease, reducing its effective viscosity and corrosion protection. The result is a bearing that runs for a short period before failing from inadequate lubrication, and the failure analysis often misses the root cause. Vacuum drying or a combination of hot air drying with adequate cycle time eliminates this problem. If your bearings have complex internal geometries or your drying process is a known bottleneck, confirming the right drying configuration for your part is worth the call to [email protected].
If you're interested, check out these related articles:
Industrial Cleaning System ROI: Calculating Your Investment Return
Die-Cast Cleaning Solutions for Industrial Parts - GTK
How to Choose Multi-Tank Ultrasonic Systems for High Volume
Ultrasonic Cleaning Process: A Step by Step Technical Guide
Pre-Coating Cleaning Solutions for PVD - GTK
 English
  German
  Spanish
  French
  Russian
  Portuguese